The Life In-Between
The Life In-Between
Notes from the garden, the studio, and the spaces in between.
Whether it's the slow growth of a Rabbit's Foot fern, the firing of a new batch of clay houses, or the quiet work of pressing flowers, this is where I share the process.
It's not just about what is grown or made, but the life that happens while I'm at it.
-
 New to gardening? Don't fret! This blog offers guidance for aspiring green thumbs looking to grow their own kai. With a nod to the abundance of online resources, the author – a trained and experienced gardener—emphasises the importance of planning before planting. Stay tuned for future posts exploring different approaches to starting your garden.Posted: 4/11/2025
 -
 Stop tossing those eggshells and banana peels! It's time to learn how to turn everyday kitchen scraps and garden goodies into potent, homemade liquid fertiliser. You can nourish your plants, save yourself some coin, and be a bit of a local eco-hero all at the same time. Get ready for lush greenery and vibrant blooms—all while reducing waste!Posted: 6/7/2024
 -
 We often see people suggesting what seems great plant advice, but some of them are detrimental to your indoor plants success.Posted: 23/6/2024
 -
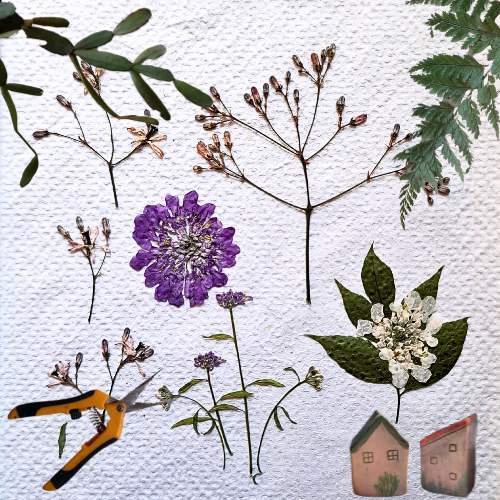
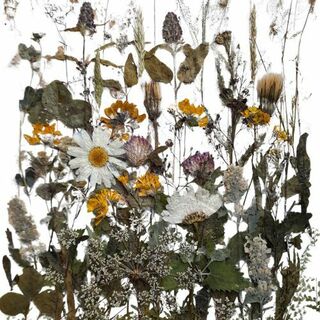 A glimpse into a recent Kats Flora workshop where we explored the beautiful, sustainable craft of pressed flowers, sharing techniques for beginners and delving into the artistry of Oshibana. Learn how to turn this childhood pastime into stunning, high-quality art!Posted: 25/5/2024
 -
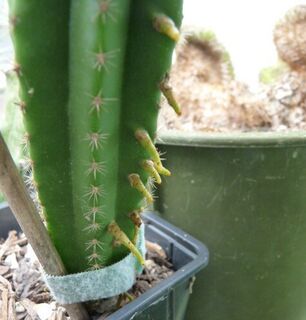
 Even the toughest-looking succulents and cacti need a bit of TLC! Adequate watering and occasional, light fertiliser will get your spiky mates looking their absolute best.Posted: 1/2/2024
 -
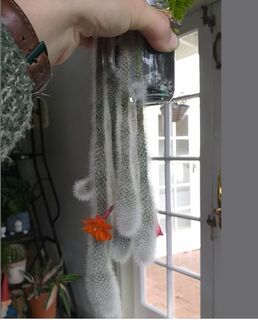
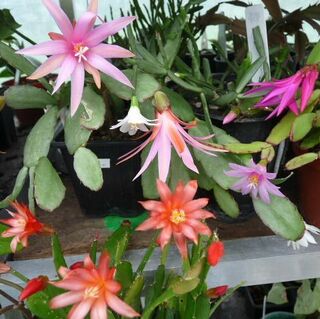 Right, let's talk about those gorgeous, festive little bloomers! Honestly, using names like 'Christmas' or 'Easter Cactus' is a bit bonkers for us in Aotearoa, isn't it? The blooming times just don't line up with the names, which is why I prefer to use the collective common name of Zygocactus, although many use Holiday Cactus as a group identity.Posted: 16/12/2023
 -
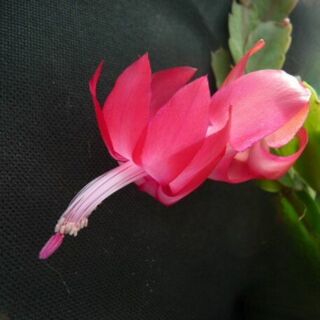 The Zygocactus (Schlumbergera), or what many folks still call the Christmas Cactus, is meant to make a stunning display in our autumn and winter months here in Aotearoa. But maybe your plant didn't flower, or the display wasn't up to scratch. No worries! This happens all the time.
Here I'll cover a few key points that might just get your beauty blooming next season.Posted: 15/10/2023 -
 Because there are so many useful air-purifying plants, I will create several blogs to cover all that I have researched. Here we have the second section, covering the plants from D to G.Posted: 27/6/2023
 -
 What things should you be thinking about for your plants over winter? This guide covers preparing your garden, protecting tender plants, and managing your indoor collection when the cold and damp hit.Posted: 10/6/2023
 -
 You often see certain plants touted as the ultimate 'Air Filtering' or 'Air Cleaning' wonders. While there’s a lot of chatter out there, I’ve put my own carefully curated selection of plants that truly possess these fantastic qualities, helping you create a healthier home.Posted: 24/5/2023
 -
 We all do it at times....Ask for help. What is wrong with my plant.Posted: 21/3/2023
 -
 Well-meaning plant advice, that you should maybe NOT do.Posted: 14/9/2022
Archive
Tags
| Top |